
Finally, here is a real project using ESPHome and Home Assistant. This post will present the good, bad and ugly of the current Home Assistant and ESPHome integration as a media player. Hope others find it useful! It was a effort that really showed me some interesting points with Home Assistant and ESPHome. And yes, “Simple” is a relative term. Remember, this may be way advanced for some and way easy for others. I classify it a moderate.
Links on This Page
“As an Amazon Associate I earn from qualifying purchases.” So, clicking on links gives me clicks in Amazon and help me maintain this site! Also, purchases made through those links also helps!
What is it?
This is a ~10 watt stereo Media Player speaker that I found all the parts for from Amazon. So, this will give you an idea of how you can add media playback to Home Assistant. This article will only cover playback, but there will be a more complete integration of this concept later. Why do this project? Here is a few reasons:
- Add Online Radio Playback to Home Assistant
- Send “text to speech” to notify of events. Camera zones by a person for example, or the fact the doorbell was pressed and play a unique message.
- Add alarm clock features to Home Assistant.
- Maybe even a advanced intercom features between rooms.
The Parts
Power
12v 1 amp “wall wart” plug-in adapter

5v Supply
Here is the 5v supply from Amazon. It is a switching supply claiming 90% efficiency. I found that the values listed are wrong 5v is more like 4.25 and 9 volts is 5.25. Oh, you can use the pot to fine tune volts. I would recommend silicone or blue thread lock on the pot to keep it set. It is not that great of quality of pot and seems to move easy. Just figured this out! The issue I was having is that I did not remove the pot from the circuit as described in the Instructions for use: See Pics below, you have to cut the trace the completes the circuit for the pot and remove it from the circuit. However, if you do not the thing still works it just gives you different voltages then you expect. So, to get the printed voltages you have to cut the pot out of the circuit. See the second pic below that explains this more clearly!


Supply Connector
Here is the one I used from Amazon. This one worked well with the speaker housing kit that I also got off Amazon. So, I would recommend using it as it is better than the one that comes with the power supply.

Brains
ESP32 micro this does all the work of communicating with HA(Home Assistant).

DAC
This part is critical to get the data from the Digital spectrum to the Analog spectrum. I left the back set just the way it was made. Here is what they are for:
Solder Bridges:
- H1L: FLT – Filter select : Normal latency (Low) / Low latency (High)
- H2L: DEMP – De-emphasis control for 44.1kHz sampling rate: Off (Low) / On (High)
- H3L: XSMT – Soft mute control: Soft mute (Low) / soft un-mute (High)
- H4L: FMT – Audio format selection : I2S (Low) / Left justified (High)
- Also there is one in the front by SCK – I did solder that bridge as it seems to help keep noise out of the system. So, solder it

Stereo Speaker Amplifier
This takes the 2v low level analog signal from the DAC and boost its amplitude for the 4 ohm speakers. Remember this is a Type D amplifier, but for the price and power it is worth it. Of coarse, Type A or Type AB would be more crisp. For the price I cannot say this is not the way to go! Plus, the DAC above makes up for much of the typical signal quality issues.
Here is the Amplifier on Amazon

Speakers and Speaker Case
Found this bluetooth kit on Amazon. Just used the case and speakers. I will save the other parts for now. Maybe I will need them for a some bluetooth. However, ESPHome has stuff for that too. So, if someone wants the parts I will give them to someone rather then throw them away.
Here is the link for the kit on Amazon. I know it says no soldering, but that is not true. It requires soldering to make this speaker. If enough people request it maybe I will make it a kit similar to the one on Amazon and it will be no solder as well.

40000 Foot Schematic

Putting in Home Assistant ESPHome Page
Navigate to ESPHome that you installed in Step 2 article. Oh, make sure ESP32 is plugged into computer port. Now, click Add Device .

Then, give it a name

Click Next, Click the connect option to connect the device via USB.

Click the Connect button at the bottom right of popup

Select your new ESP32 Device
Click the connect button again but now like above image. Wait on page patiently as it is loading firmware on device so ESPHome can utilize the device. Once it completes, optionally give it a location. Now, the device is setup!

Ok, it will show up with other ESP32 devices if you have others. Anyway, it should look something like the below picture. Find it and hit the edit button.

Finally, it is time to code it to control the DAC and act as a Media Player.
Programming Doorbeller as a Media Device
Well, at least that is what I called it here! Once you have clicked edit the following window should appear. This is all written in yaml so if you do not know yaml I would use a resource such as this to learn more about it. Suffice it to say, it is space and format oriented so it may take some time to get used to yaml. Also, many things use yaml to configure them so better get used to it!!!

Add the Following Code Block
At the very bottom of the yaml window for the ESP device you are configuring add the following code.
i2s_audio:
  i2s_lrclk_pin: GPIO27
  i2s_bclk_pin: GPIO25

media_player:
  - platform: i2s_audio
    name: Announcer Media Player
    id: announcer_media_player
    dac_type: external
    i2s_dout_pin: GPIO26
    mode: stereo
Save it and Install it
Now press the Install. It will install and then give a log file of the device ounce it is fully loaded with the latest firmware you just compiled. It is that easy! There is much to learn in the yaml file I will cover the key points below.

i2s_audio – Tells ESPHome to add the code to control i2s devices. Also lrclk and bclk are on GPIO pins 27 and 25 respectively.
media_player – That is also to be compiled and here are the settings to use. Look for i2s_audio for the DAC. Also, data pin is on i2s_dout_pin: GPIO26
Once that is all done it is ready to start being used! Note, give it some time and if it still has not shown up then install the firmware on it again. One of these times it will show. Below, is an example output.
esphome:
  name: announcer
  friendly_name: Announcer

esp32:
  board: esp32dev
  framework:
    type: arduino

# Enable logging
logger:

# Enable Home Assistant API
api:
  encryption:
    key: "u"

ota:
  password: "d"

wifi:
  ssid: !secret wifi_ssid
  password: !secret wifi_password

  # Enable fallback hotspot (captive portal) in case wifi connection fails
  ap:
    ssid: "Announcer Fallback Hotspot"
    password: "v"

captive_portal:

i2s_audio:
  i2s_lrclk_pin: GPIO27
  i2s_bclk_pin: GPIO25

media_player:
  - platform: i2s_audio
    name: Announcer Media Player
    id: announcer_media_player
    dac_type: external
    i2s_dout_pin: GPIO26
    mode: stereo
Here is the output.
INFO ESPHome 2023.10.6
INFO Reading configuration /config/esphome/announcer.yaml...
INFO Starting log output from announcer.local using esphome API
INFO Successfully connected to announcer.local
[18:57:40][I][app:102]: ESPHome version 2023.10.6 compiled on Nov  7 2023, 22:56:34
[18:57:40][C][wifi:546]: WiFi:
[18:57:40][C][wifi:382]:   Local MAC: 48:E7:29:98:58:18
[18:57:40][C][wifi:383]:   SSID: [redacted]
[18:57:40][C][wifi:384]:   IP Address: 192.168.1.230
[18:57:40][C][wifi:386]:   BSSID: [redacted]
[18:57:40][C][wifi:387]:   Hostname: 'announcer'
[18:57:40][C][wifi:389]:   Signal strength: -49 dB ▂▄▆█
[18:57:40][C][wifi:393]:   Channel: 7
[18:57:40][C][wifi:394]:   Subnet: 255.255.254.0
[18:57:40][C][wifi:395]:   Gateway: 192.168.0.1
[18:57:40][C][wifi:396]:   DNS1: 192.168.0.1
[18:57:40][C][wifi:397]:   DNS2: 0.0.0.0
[18:57:40][C][logger:416]: Logger:
[18:57:40][C][logger:417]:   Level: DEBUG
[18:57:40][C][logger:418]:   Log Baud Rate: 115200
[18:57:40][C][logger:420]:   Hardware UART: UART0
[18:57:40][C][captive_portal:088]: Captive Portal:
[18:57:40][C][mdns:115]: mDNS:
[18:57:40][C][mdns:116]:   Hostname: announcer
[18:57:40][C][ota:097]: Over-The-Air Updates:
[18:57:40][C][ota:098]:   Address: announcer.local:3232
[18:57:40][C][ota:101]:   Using Password.
[18:57:40][C][api:139]: API Server:
[18:57:40][C][api:140]:   Address: announcer.local:6053
[18:57:40][C][api:142]:   Using noise encryption: YES
[18:57:40][C][audio:203]: Audio:
[18:57:40][C][audio:225]:   External DAC channels: 2
[18:57:40][C][audio:226]:   I2S DOUT Pin: 26
Add Device to Devices
Go to Settings at the bottom left of HA window.

Now, Select Devices & Services

Should find something like this!

Click the Configure button.

Now, click submit!
Enter your encryption key that is stored in ESPHome yaml file. So, you will have to open a new tab or page and go to ESPHome and select your device and find the encryption key in there. Copy and past it into the widow after the above.
Now pick a location for the ESP device. Finally, click finish button.

Click on ESPHome X Devices link see example below and click on 5 Devices.

Finally, it is possible to click on 1 device such as below.

Now it is possible to see the item under the ESP device.

Also Plays Under Media Player

It is on the left hand menu bar. Once in the player select online radio and select the correct device in the lower right corner. Then, pick a station. A station should start to play within a min if not try it again or a different station.

Things that are quirky
Overall, it works! However, I am having some troubles pulling back the url that is passed in to Media Player ESP tried this code and it is not working correctly. It sometime prints out junk other times it has no value even though I see a log entry right before it with the url. Not sure how to recover this url at this point. So, currently notify causes the media player to stop playing. IDK, still working on this!
on_play:
then:
- lambda: |-
const optional<std::string> & url = id(main_lr_media_player).make_call().get_media_url();
if (url.has_value()) {
ESP_LOGD("main", " Media URL: %s", url.value());
}else{
ESP_LOGD("main", " Media URL: empty ");
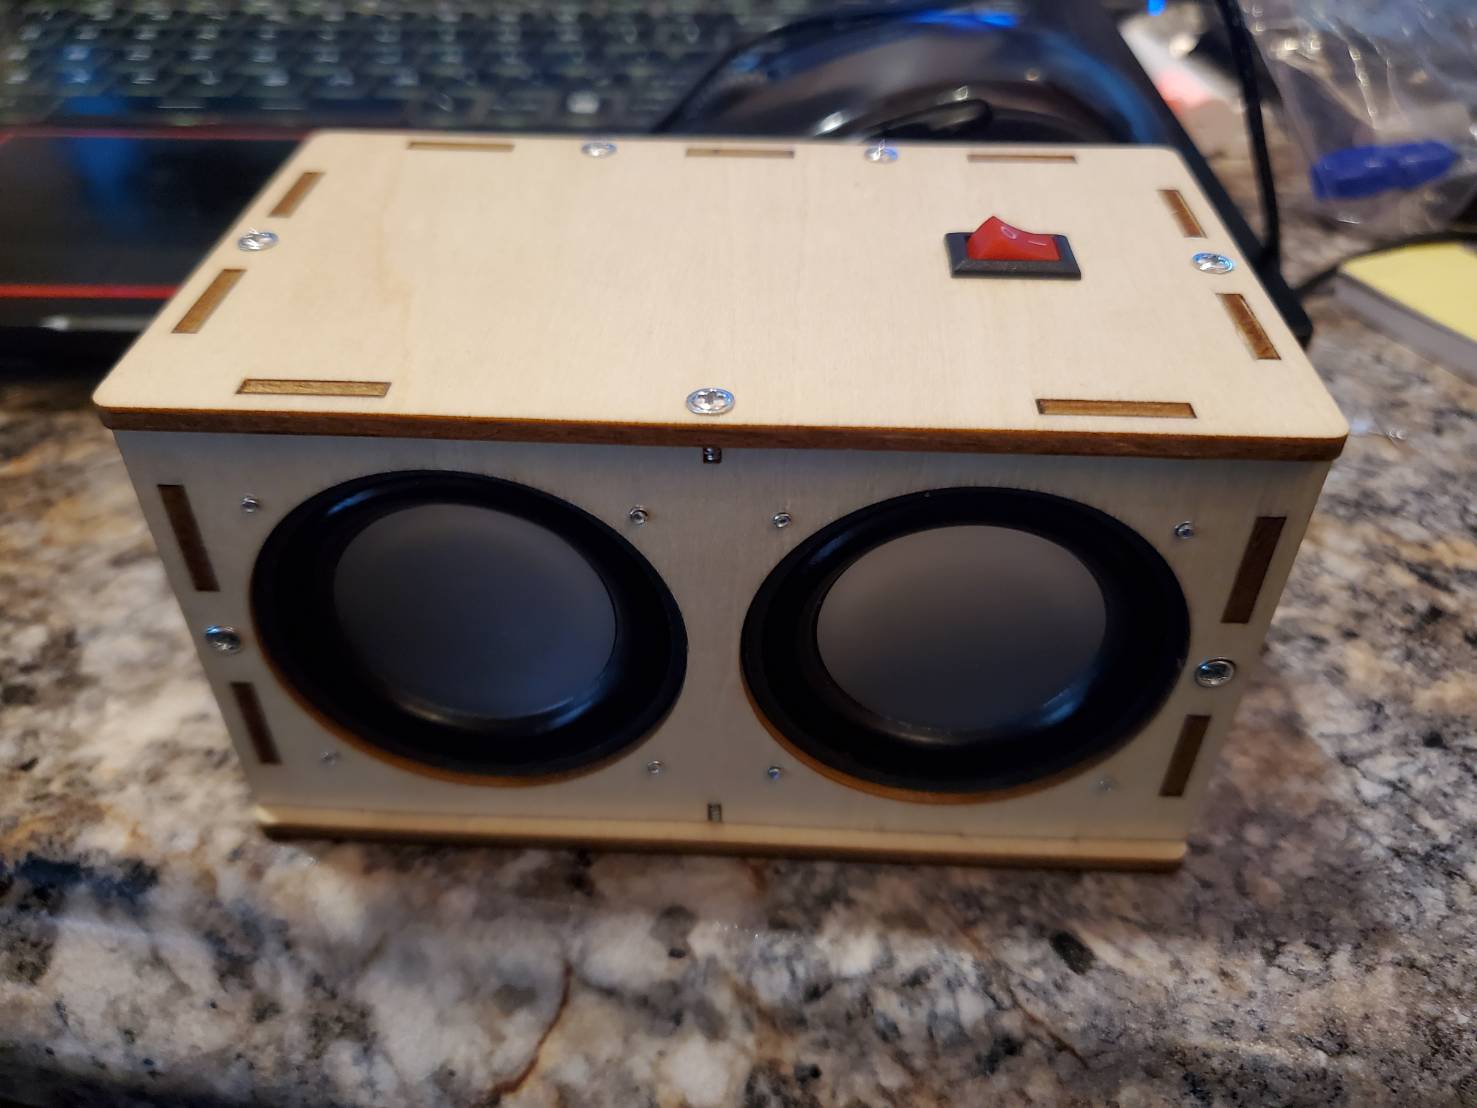
}Some Project Pictures


