
Configuration
Now the most important part of this article. Configuration, this is my current setup and configuration and as I change this configuration I will be updating this section accordingly.
Setup SSF PC
I used Rufus to create a bootable usb with the latest Debian 11 image on it. Also, no need to install any desktop unless you want to but make sure to select ssh server option so that it is possible to get to the device via ssh. Note, this is and the web interfaces are the only way that I connect to the pc any longer as it is not connected to a monitor. Simply place stick into usb and hit delete to get into bios settings. I changed the disk option to boot to uefi usb disk boot as the first option then internal hard drive as next option. Once setup is done use the following command to get the ip.
ip aConnect via ssh and then the rest of the configuration can be performed.
Install Docker
Once the pc is configured, the next step is to put on docker. This will allow you to put on Frigate as it only runs in docker or as a hass addon(really docker again under hass os). Docker is not difficult to install and I covered it here. Note only need to do step 1 as step 2 covers rancher install.
Install Portainer
Now that Docker is installed it is nice to install Portianer using commands below:
docker volume create portainer_data
docker run -d -p 8000:8000 -p 9443:9443 --name portainer --restart=always -v /var/run/docker.sock:/var/run/docker.sock -v portainer_data:/data portainer/portainer-ce:latestThe typical drill here Click Advanced and click the link like Continue to 192.168.0.20 (unsafe)
Now in login to Portainer
Once in Portainer, it is time to create a new stack for frigate. To do this select the link to active portianer instance listed. For example, something like below:

Now on the left click stacks

Finally, click add stack and create a named stack like frigate (must be lowercase) or something you like.


Both options work well Web Editor OR Upload just remember in both options to change settings according to needs and also set your password at the bottom of the yaml. IE, <yourpass> below
version: "3.9"
services:
  frigate:
    container_name: frigate
    privileged: true # this may not be necessary for all setups
    restart: unless-stopped
    image: ghcr.io/blakeblackshear/frigate:stable
    shm_size: "256mb" # update for your cameras based on calculation above
    devices:
      - /dev/bus/usb:/dev/bus/usb # passes the USB Coral, needs to be modified for other versions
      - /dev/apex_0:/dev/apex_0 # passes a PCIe Coral, follow driver instructions here https://coral.ai/docs/m2/get-started/#2a-on-linux
      - /dev/dri/renderD128 # for intel hwaccel, needs to be updated for your hardware
    volumes:
      - /etc/localtime:/etc/localtime:ro
      - /mnt/usbdisk/frigate.yml:/config/config.yml
      - /mnt/usbdisk/store:/media/frigate
      - type: tmpfs # Optional: 1GB of memory, reduces SSD/SD Card wear
        target: /tmp/cache
        tmpfs:
          size: 1000000000
    ports:
      - "5000:5000"
      - "8554:8554" # RTSP feeds
      - "8555:8555/tcp" # WebRTC over tcp
      - "8555:8555/udp" # WebRTC over udp
    environment:
      FRIGATE_RTSP_PASSWORD: "<yourpass>"
Final Frigate Config
Before starting frigate this config needs to be placed in associated folder on PC with associated name from volumes above - /mnt/usbdisk/frigate.yml:/config/config.yml Note it is called frigate.yml and not just config.yml as it is in docker image so remember for this configuration frigate.yml = config.yml but must be stored on PC as frigate.yml
nano /mnt/usbdisk/frigate.ymlPaste in below in frigate.yml
One other component needed for frigate to function correctly is the frigate.yaml file below remember to change the following:
- <yourmqttpass> – your mqtt password
- <campass> – each camera password associated with that item.
mqtt:
#point to your host
host: 192.168.0.45
user: admin
password: <yourmqttpass>
port: 1884
detectors:
coral:
type: edgetpu
device: usb
rtmp:
enabled: false
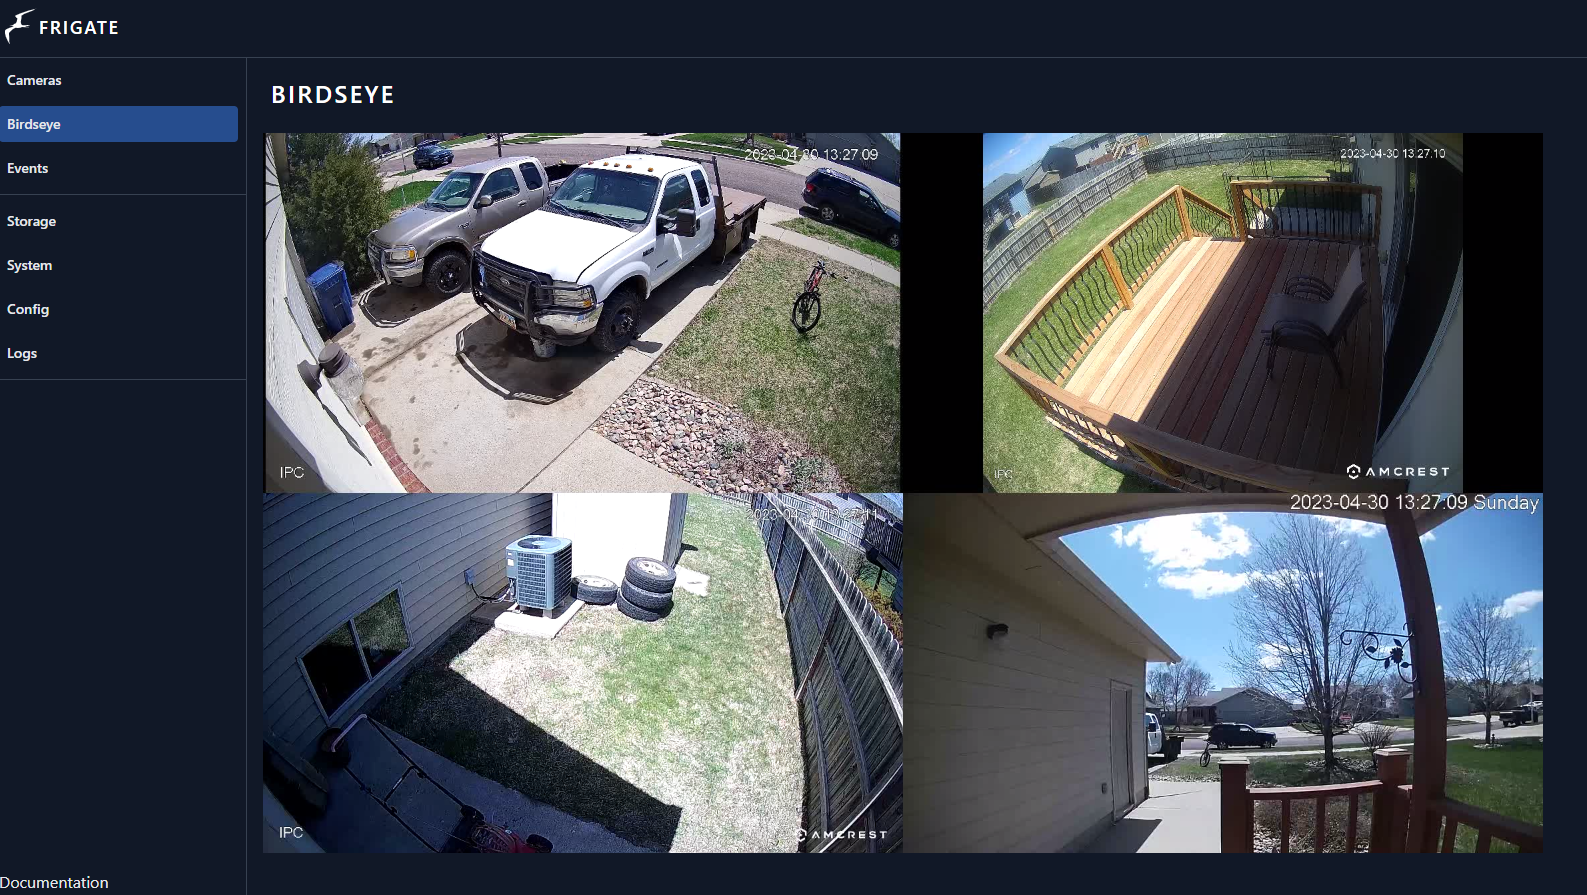
birdseye:
width: 1920
height: 1080
mode: continuous
cameras:
doorbell:
ffmpeg:
hwaccel_args: preset-intel-qsv-h264
output_args:
record: preset-record-generic-audio-aac
inputs:
- path: rtsp://admin:<campass>@192.168.0.50:554/cam/realmonitor?channel=1&subtype=0
roles:
- detect
- record
- rtmp
detect:
width: 1920
height: 1080
record:
enabled: true
retain:
days: 6
mode: all
motion:
mask:
- 949,409,1872,382,1920,537,1920,611,1920,675,1853,693,1522,743,742,779,724,522
objects:
track:
- person
driveway:
ffmpeg:
hwaccel_args: preset-intel-qsv-h264
output_args:
record: preset-record-generic-audio-aac
inputs:
- path: rtsp://admin:<campass>@192.168.0.51:554/cam/realmonitor?channel=1&subtype=0
roles:
- detect
- record
- rtmp
detect:
width: 2688
height: 1520
record:
enabled: true
retain:
days: 4
mode: all
objects:
track:
- person
filters:
person:
mask:
- 568,0,796,0,816,83,478,178,368,0
reardoor:
ffmpeg:
hwaccel_args: preset-intel-qsv-h264
output_args:
record: preset-record-generic-audio-aac
inputs:
- path: rtsp://admin:<campass>@192.168.0.52:554/cam/realmonitor?channel=1&subtype=0
roles:
- detect
- record
- rtmp
detect:
width: 1920
height: 1080
record:
enabled: true
retain:
days: 4
mode: all
objects:
track:
- person
deck:
ffmpeg:
hwaccel_args: preset-intel-qsv-h264
output_args:
record: preset-record-generic-audio-aac
inputs:
- path: rtsp://admin:<campass>@192.168.0.53:554/cam/realmonitor?channel=1&subtype=0
roles:
- detect
- record
- rtmp
detect:
width: 2592
height: 1944
record:
enabled: true
retain:
days: 4
mode: all
objects:
track:
- personStartup Frigate
In my case that is here

Click on associated stack or Containers and select frigate from there either way gets you to associated frigate container. Press the start button and if all goes well it will start. Also notice the logs link below it is helpful if things are not stating as expected.
